You can use the support connection settings to create an end-to-end encrypted communication channel between the LogPoint Support and the LogPoint. It helps the LogPoint support team understand, troubleshoot, and fix issues with deployment along with any issues that might arise in the future. Only the customers can enable the support connection.
Go to Configure >> Settings >> System >> Support Connection Settings.
Select the LogPoint instances where you want to configure the support connection settings.
Click Next.
Configuring the Support Connection Settings
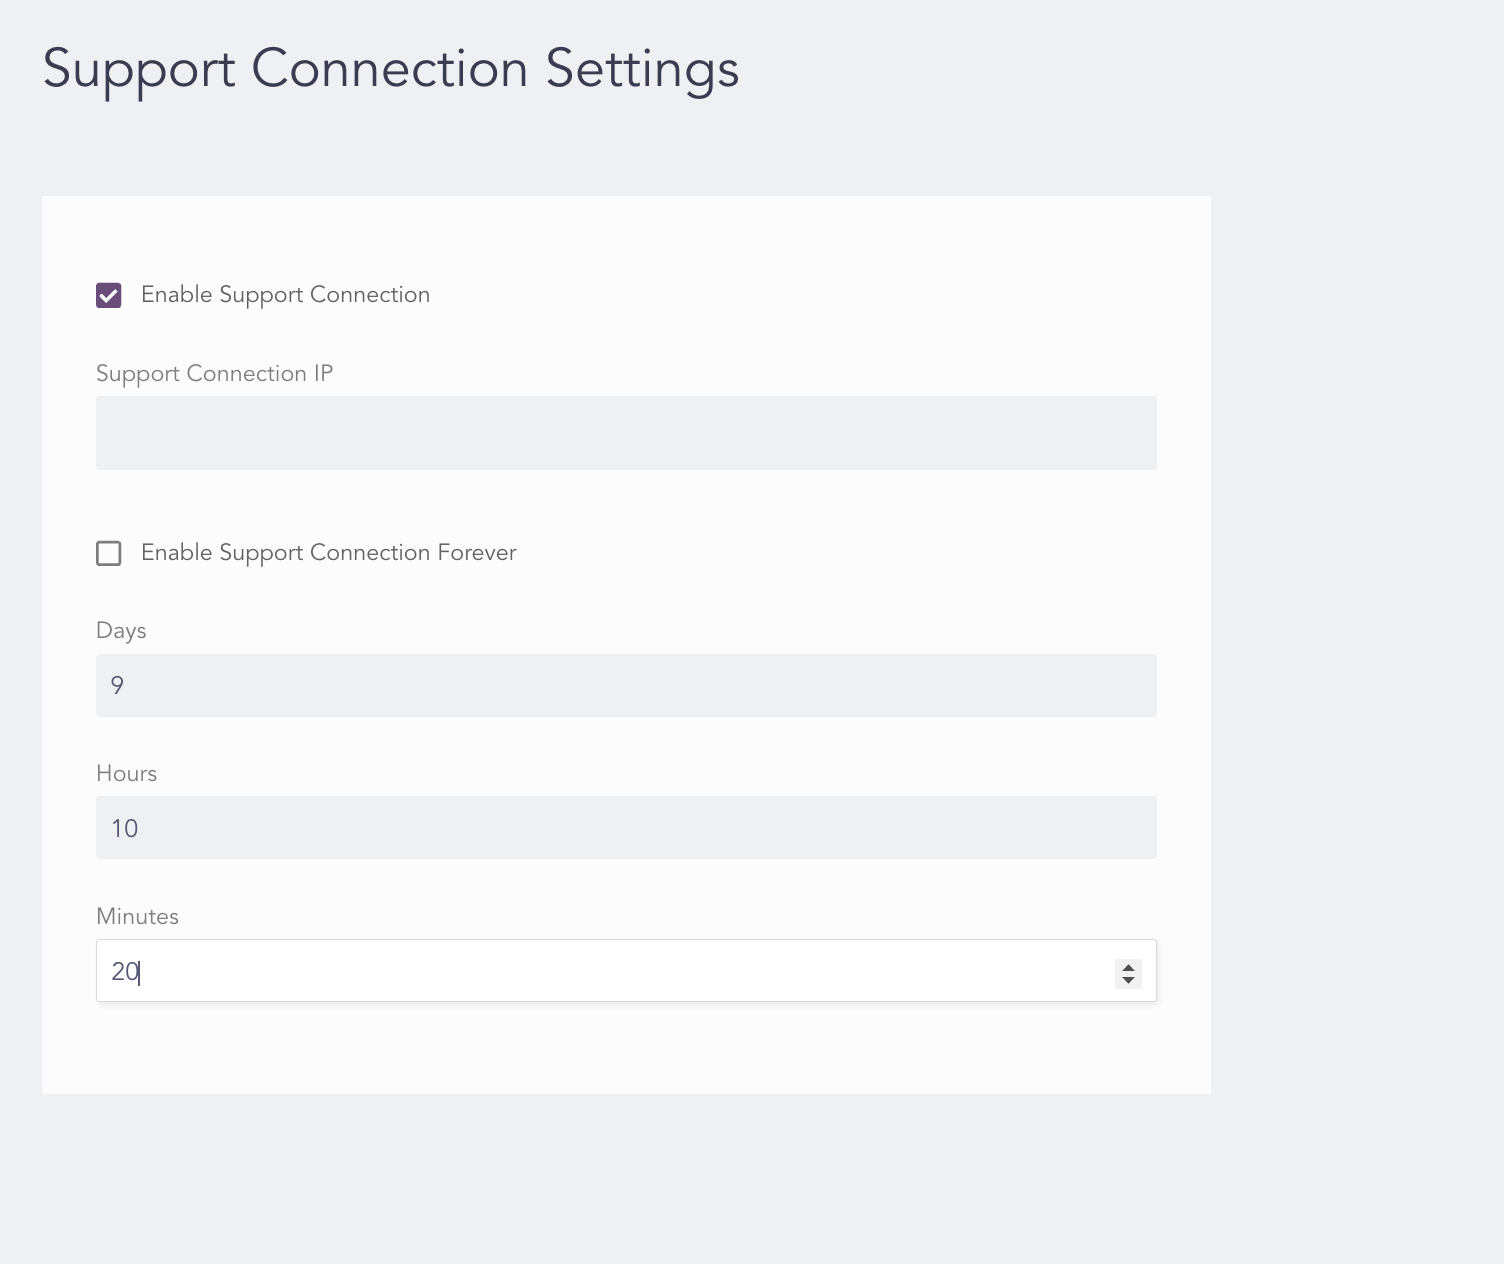
Click Enable Support Connection.
Note
For multiple LogPoint instances, the Enable Support Connection option is enabled by default.
Enter the duration of the connection in Days, Hours, and Minutes.
Click Enable Support Connection Forever? to enable the support connection forever (optional).
Click Next.
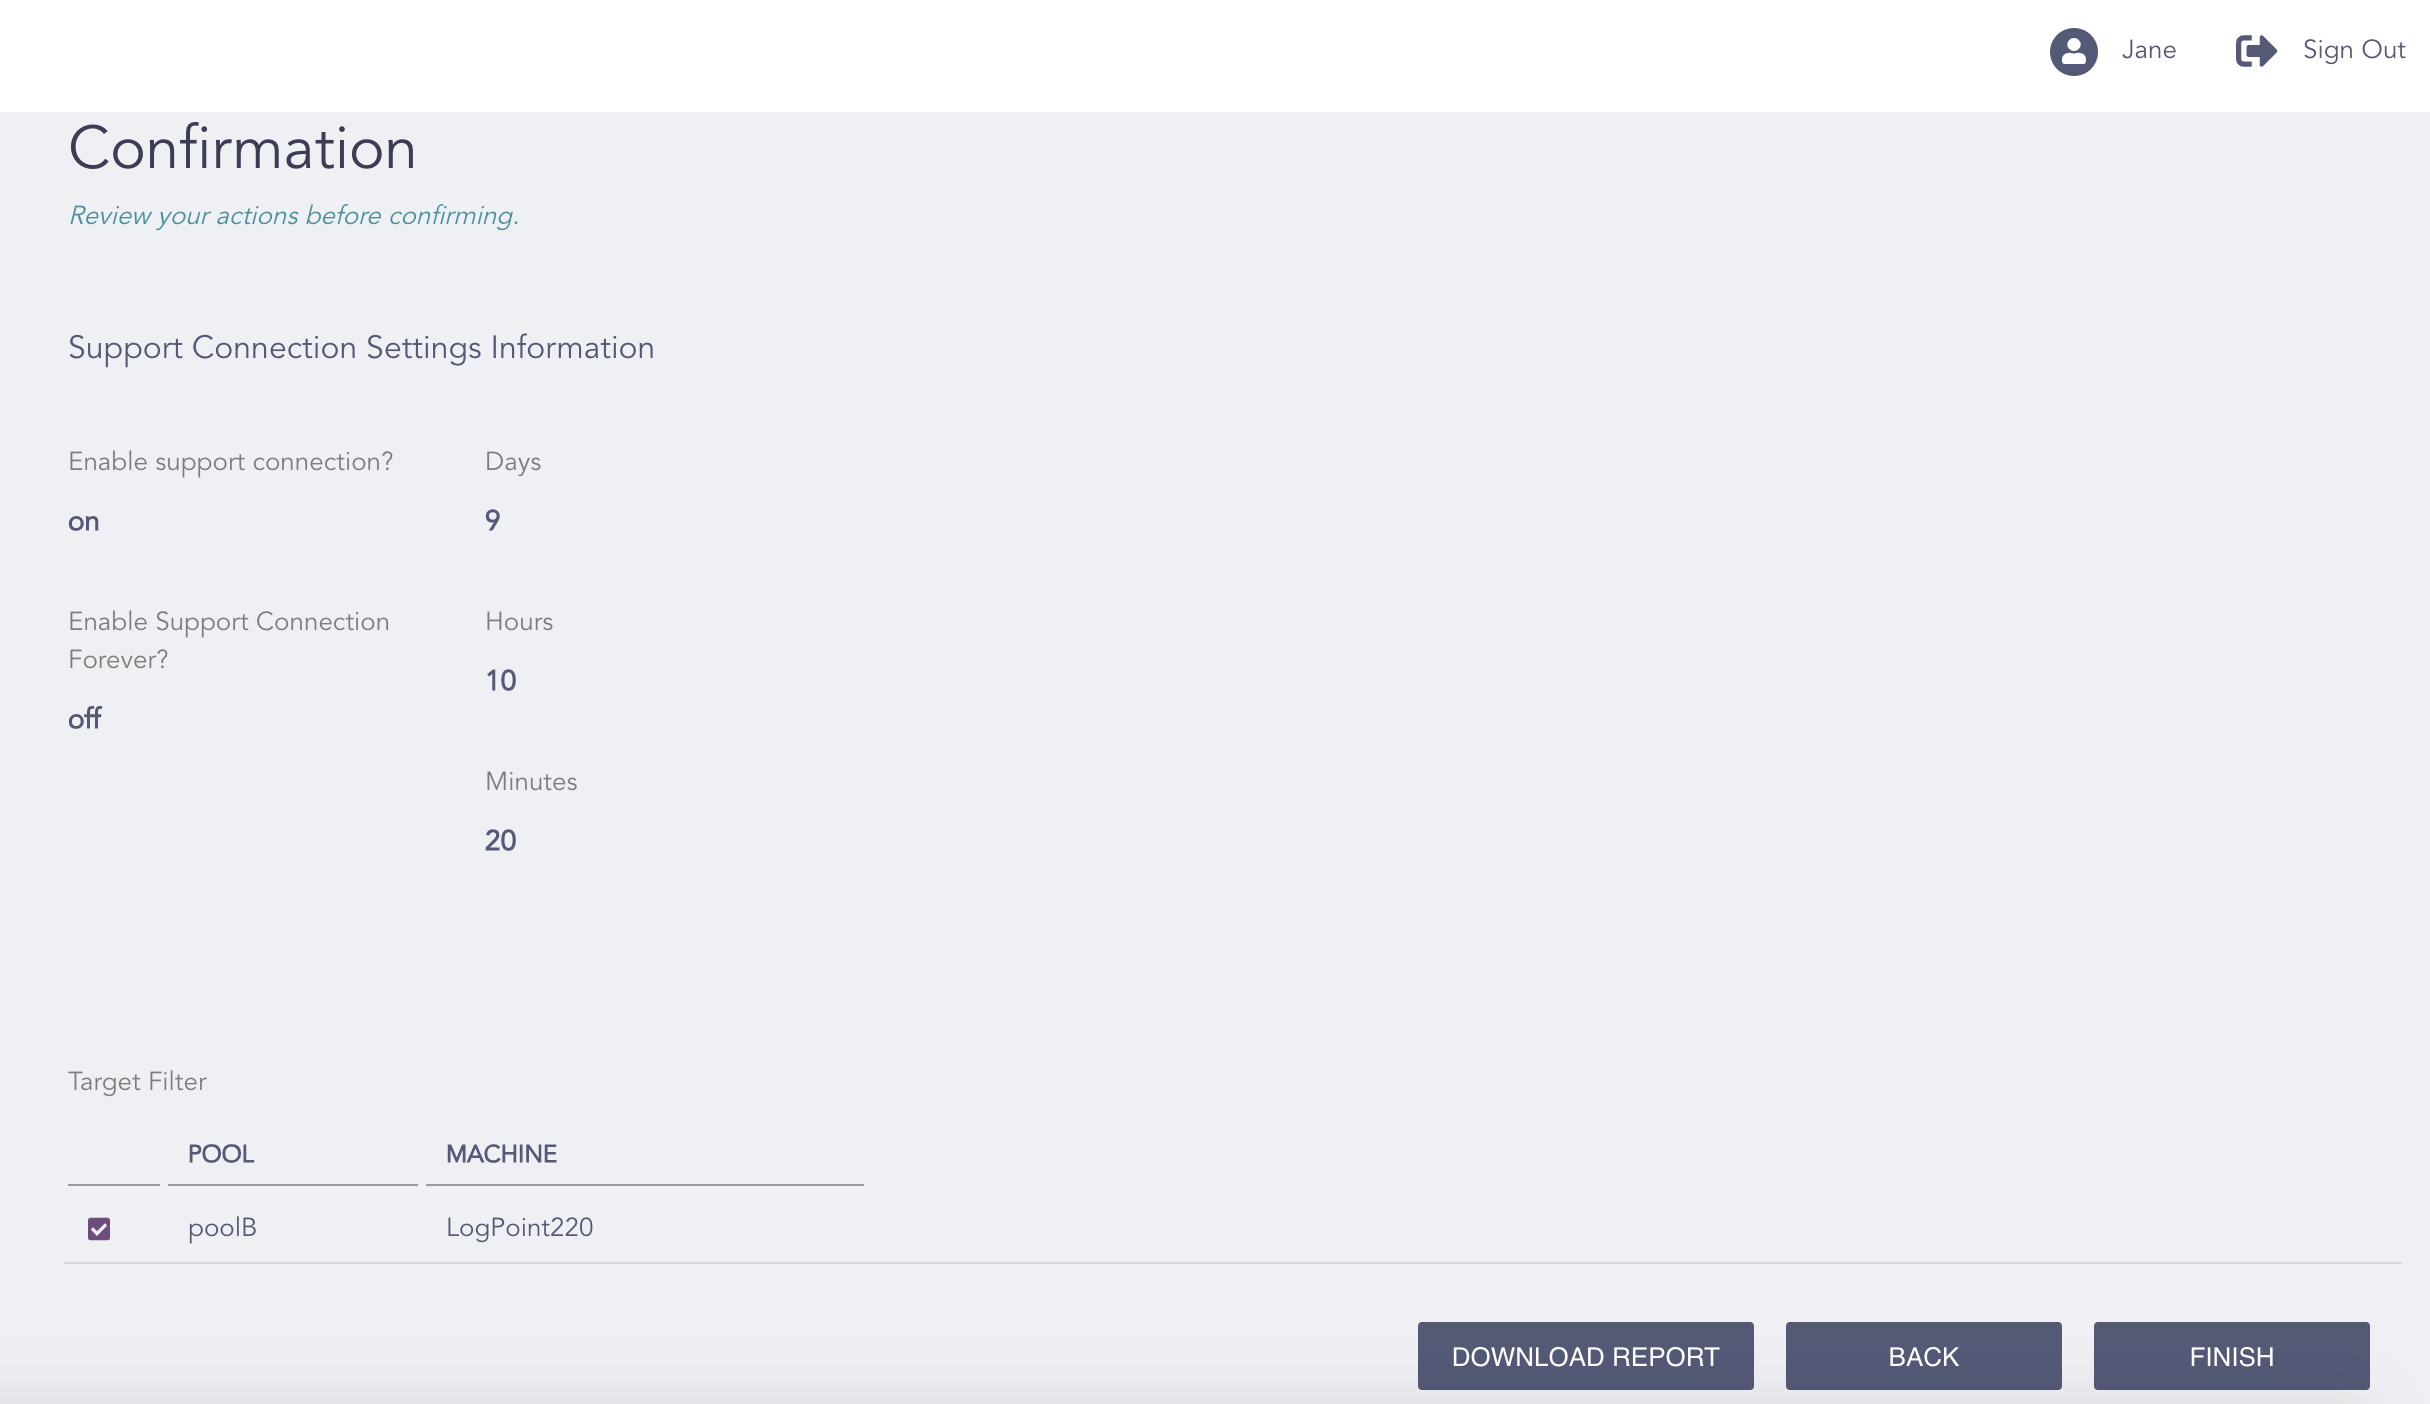
Confirming the Changes
Review your changes. You can go Back to make any changes if necessary.
Note
Click Download Report to save the summary of the task in PDF.
Click Finish.
Click OK.
Use the Refresh API List to sync Support Connections Settings to ensure the Logpoint Support IP is in sync in the Director Console.
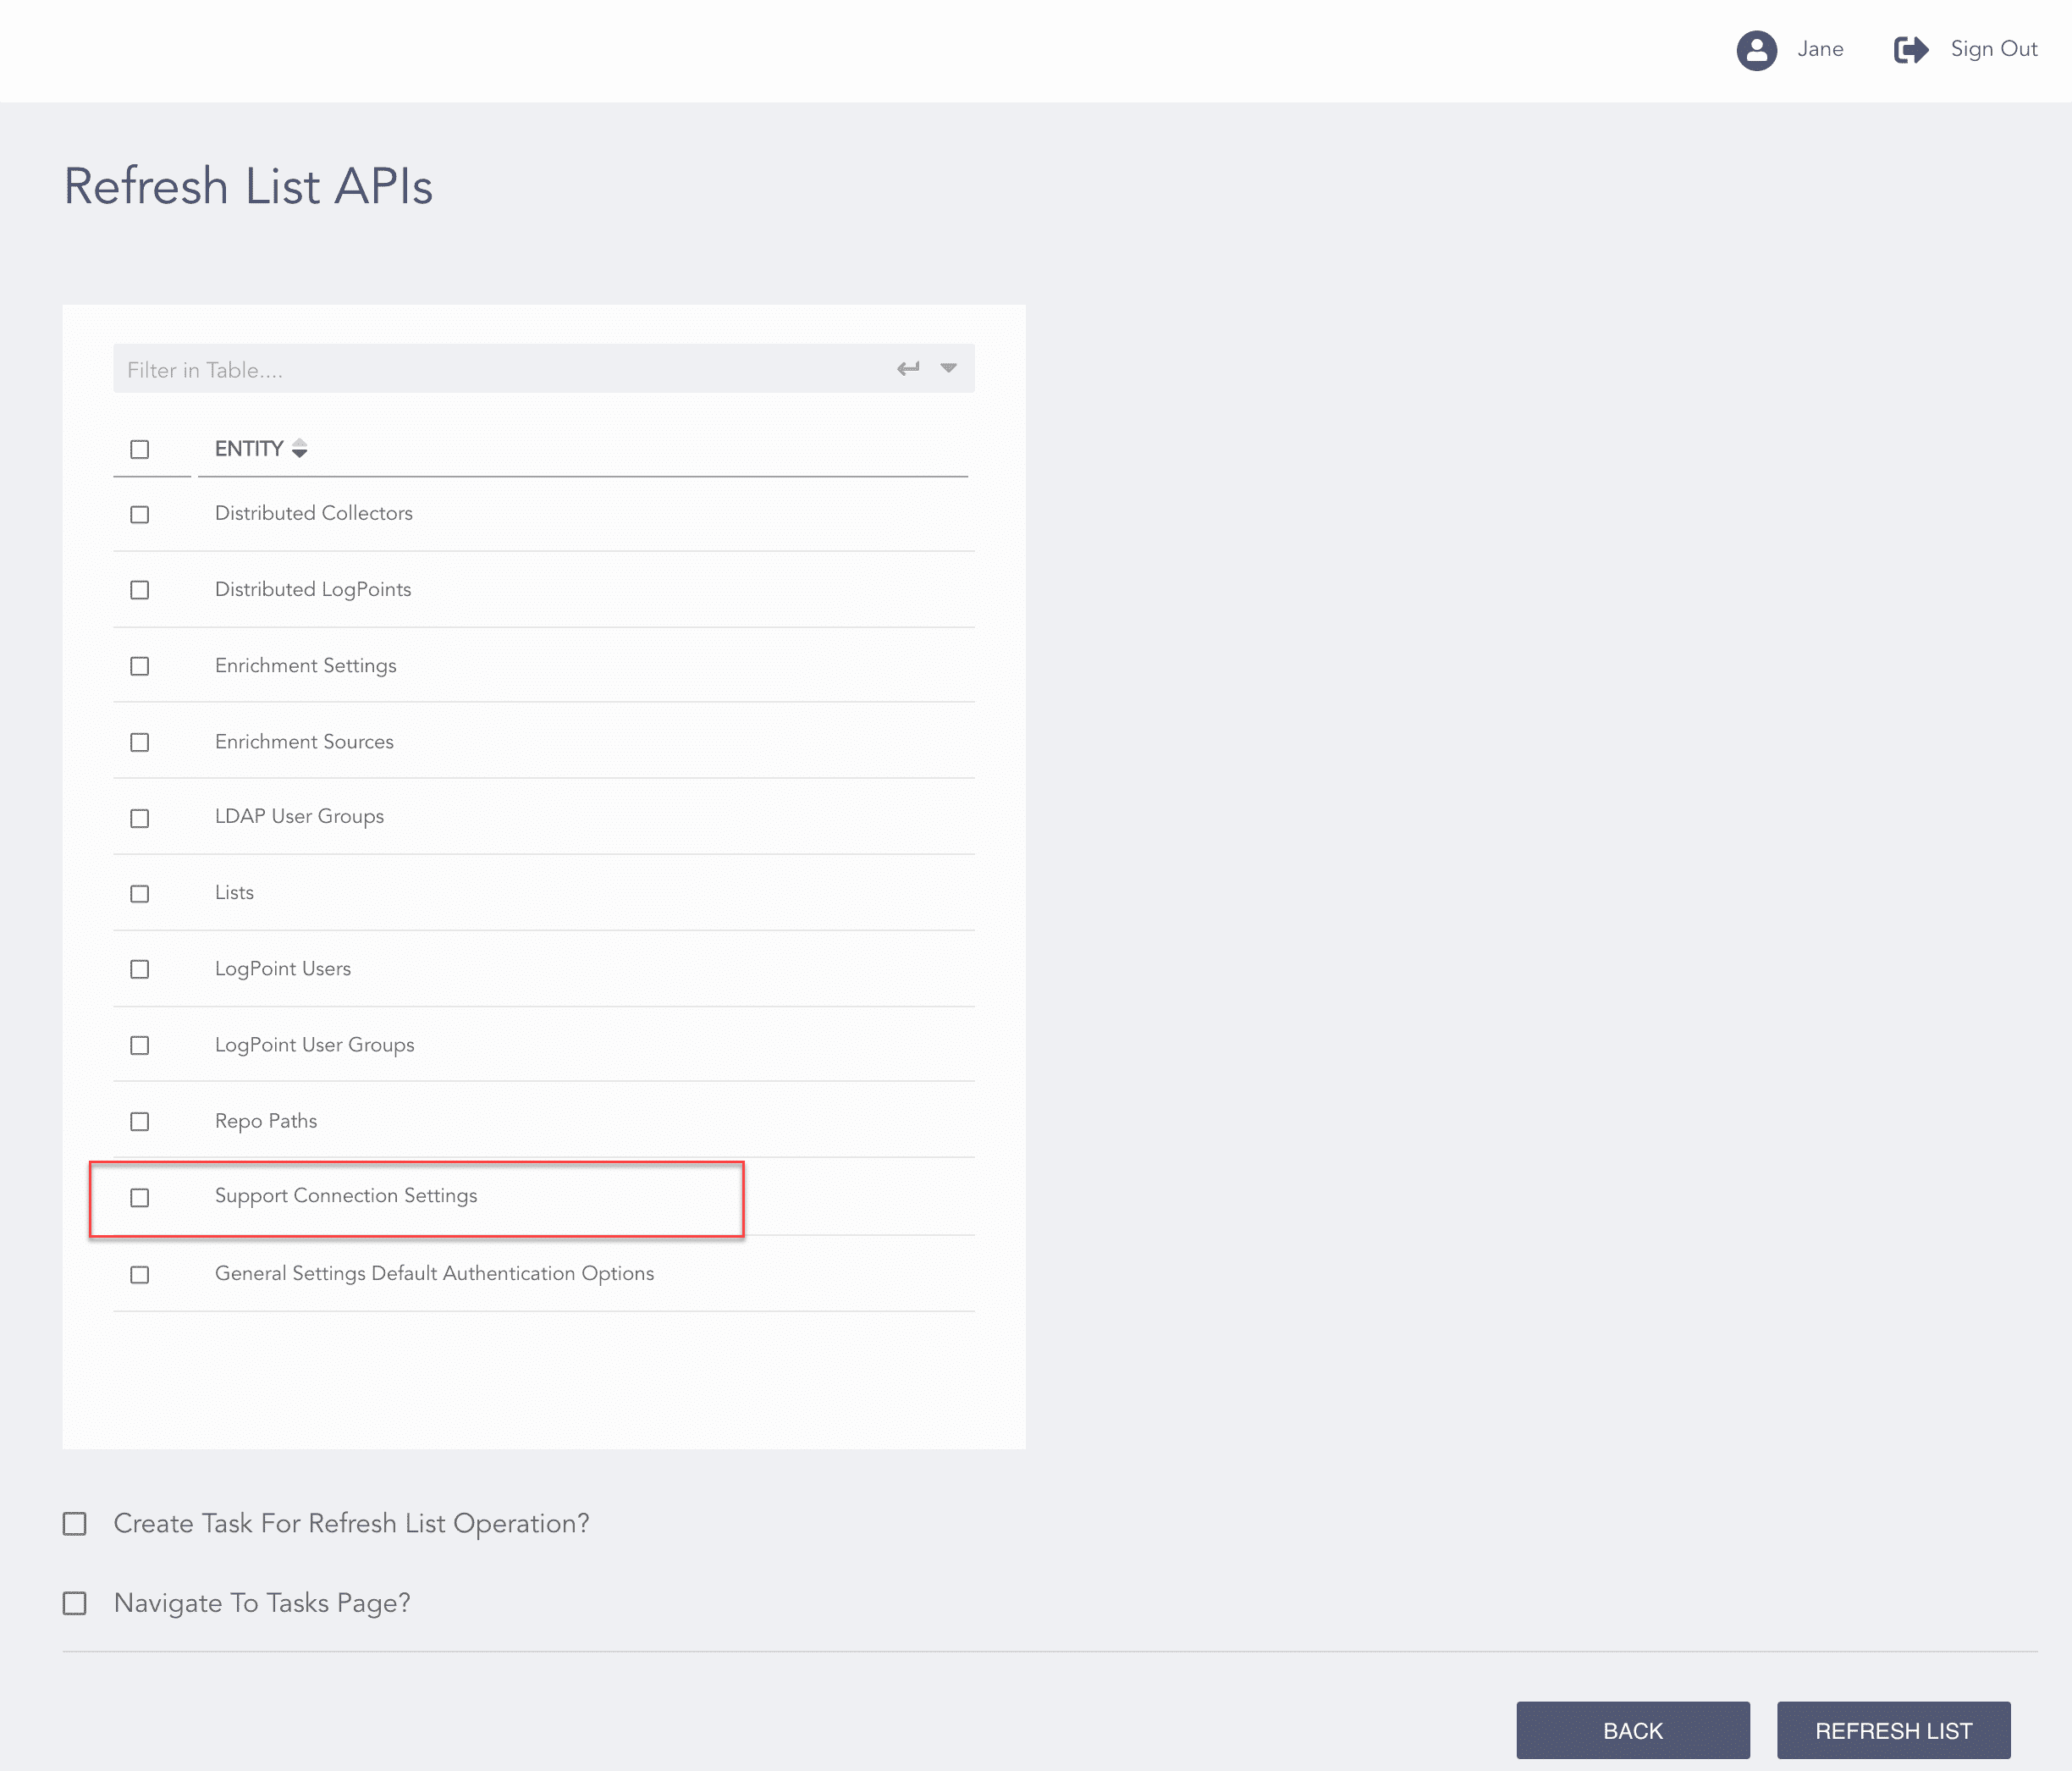
Refresh Support Connections Settings
After refreshing the API, go to Configure >> Settings >> System >> Support Connection Settings and you will see the synced Support Connection IP.
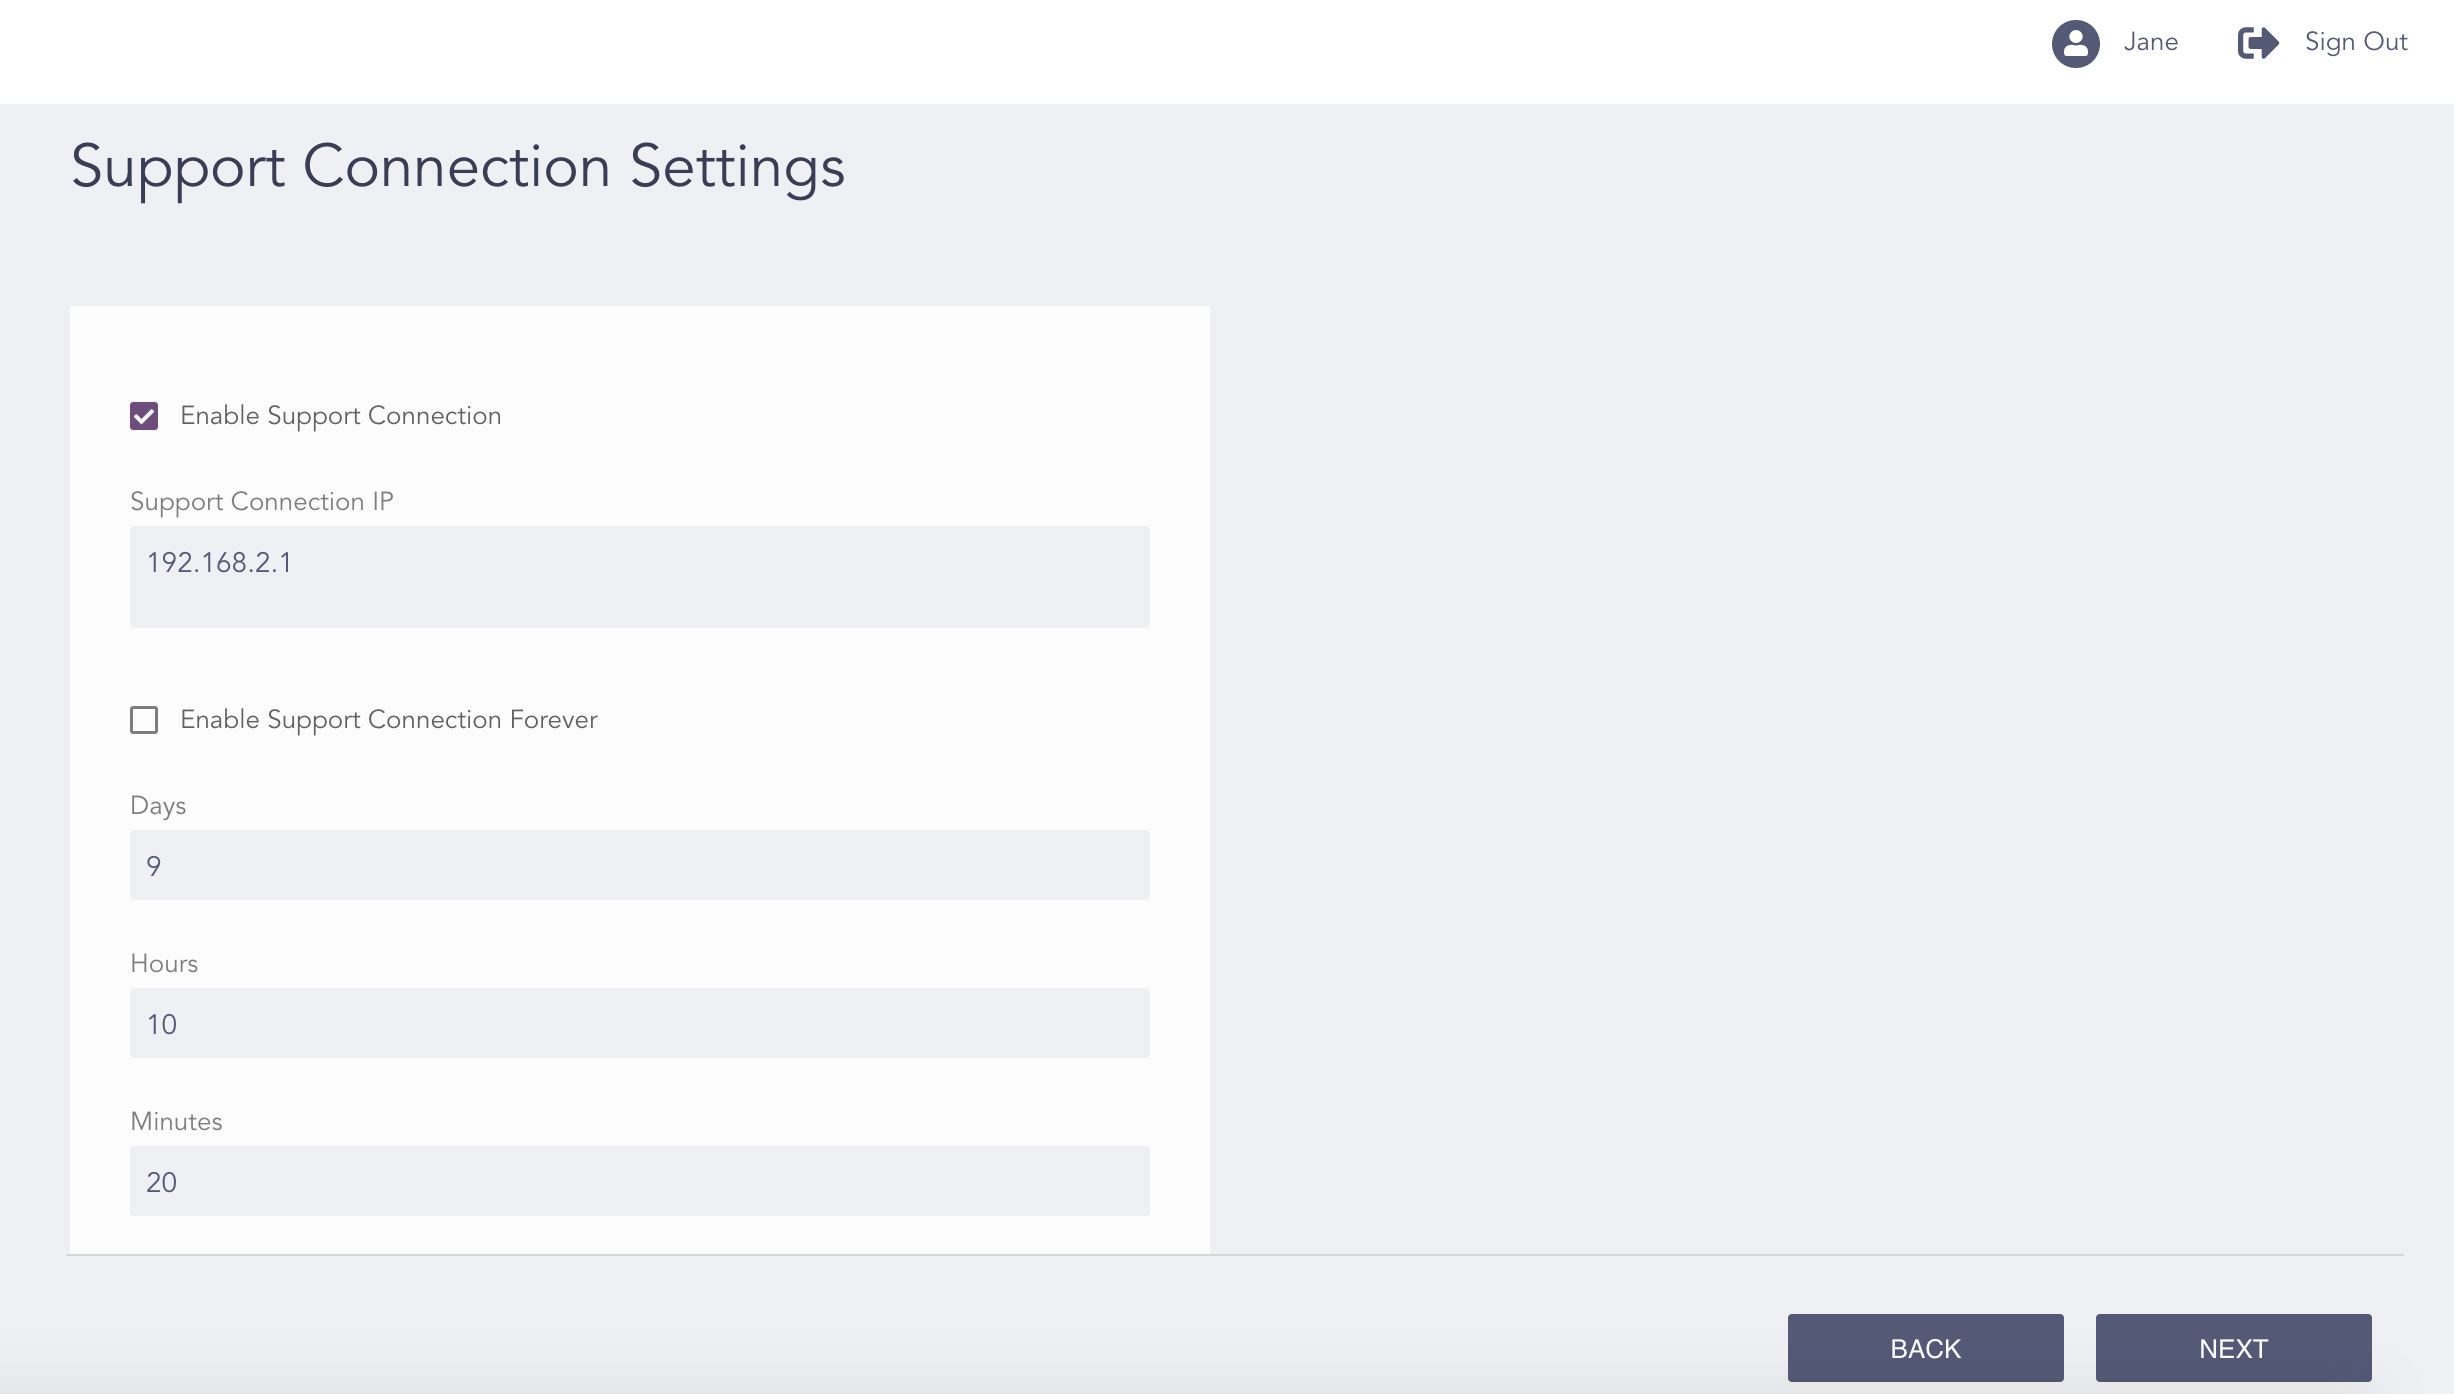
Synced Support Connection IP